Make Your Art World in a New Plastic Art
Probably, many of you are not well aware of the term “shrink art plastic”. This is why before I get into the main topic I would like to spend few words about it to make the matter easily understandable for you. Now please go through this article to explore the miracle of this magic cloak.
What is it?
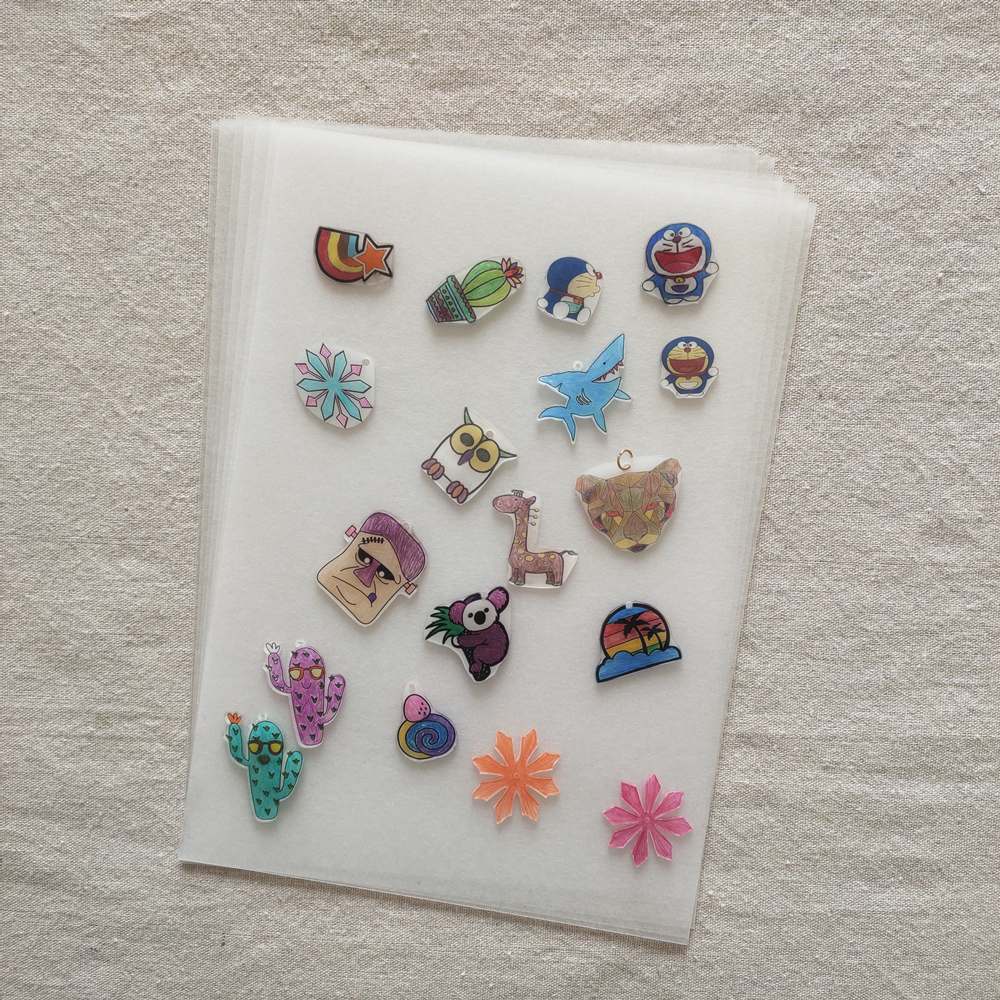
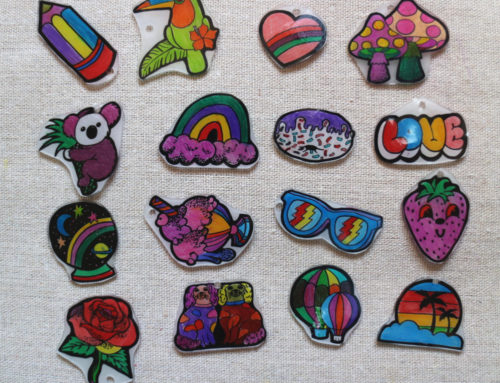
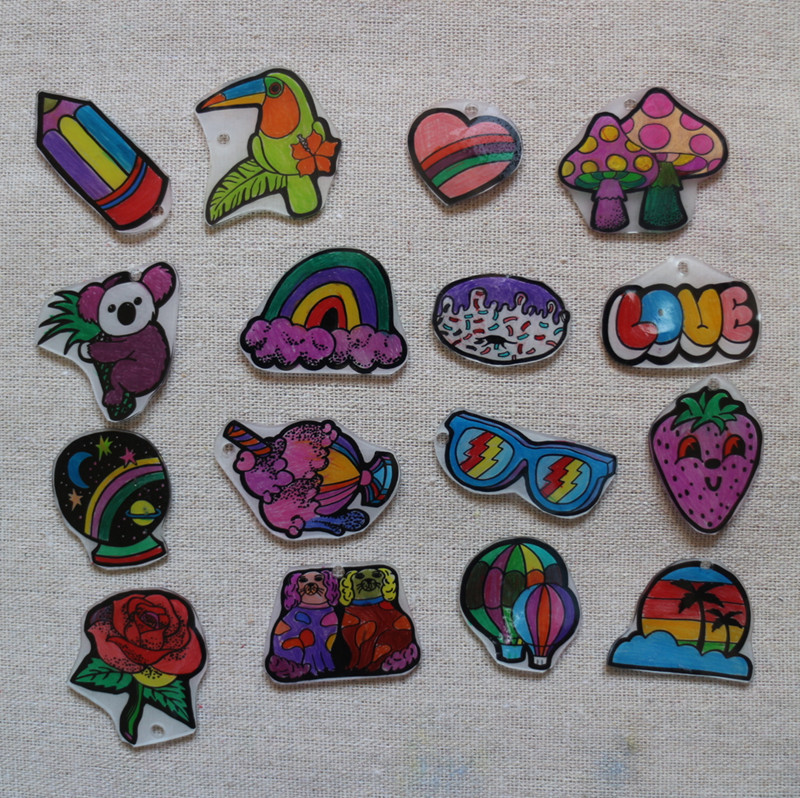
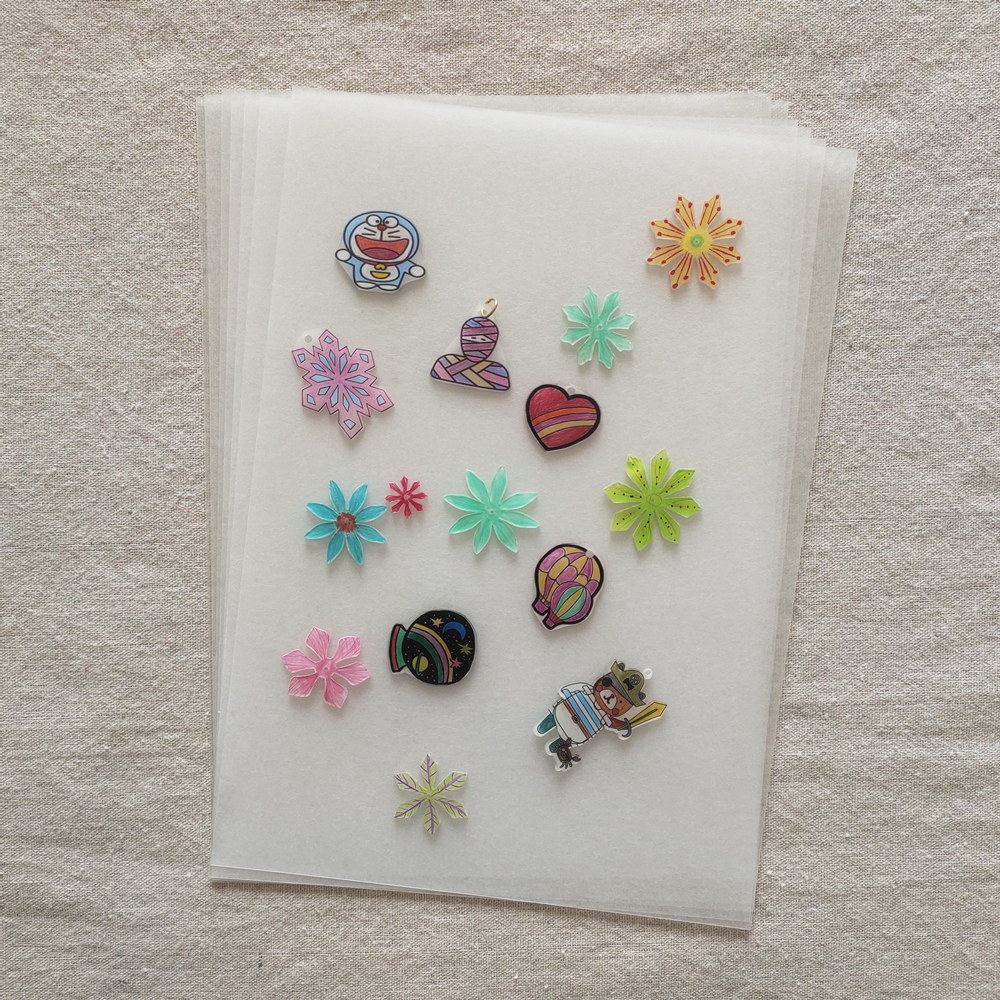
Shrink is basically plastic material available in many retail stores. People use this for their various artworks. From charms to pins and jewellery to a large number of things can be prepared from it. These popular arts-and-crafts plastic sheets have their extensive uses among art, craft, graphics, and design communities. You can shrink your artworks with Shrink Film. Create your own art on a shrink. Cut it into pieces and bake it for instant and permanent embellishments.
The base material of Shrink consists of thin, smooth, and flexible polystyrene plastic sheets. These sheets are prior to heating. These can be of various colours with acrylic paint, coloured pencils and felt-tip pens. You can easily cut these into pieces for your required shapes.
These are now highly popular for creating permanent designs. In the 1980s, it received high popularity among the children. Many retailers and online stores sell these to create impressive artworks on them. Shrinky Dinks are usually available in 8-inch by 10-inch plastic sheets.
Apart from creating colourful arts, you can make attractive jewellery works. It has both domestic and commercial uses for making various plastic designs. Creating Shrinky dinks becomes easier for you when you follow some important dos and don’ts.
Although Shrinky Dinks are used basically as an arts and crafts product for children, many adult artists and crafters and like to use it for various purposes like making jewellery products and other artistic creation.
Uses of Shrinky Dinks
· As a gift to your friend
· Making name tags, jewellery charms and earrings
· Producing rubber stamps
· Scrapbooking supplies
· Making personalized key chains, charms and magnets in no time
Dos for Making Shrinky Dinks
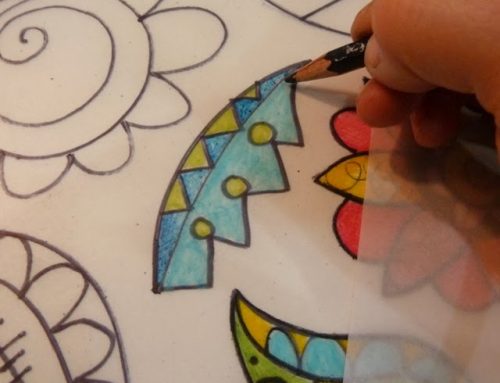
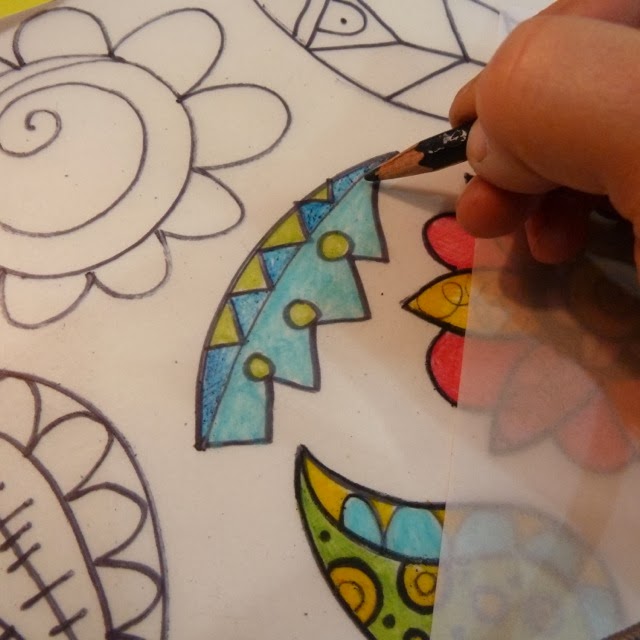
· Draw, design, trace or copy an image onto a Shrinky dinks plastic sheet
· You can use a coloured pencil, marker and permanent ink on Shrinky Dinks.
· Use the pencil on the rough surface of a sheet.
· Apply Sharpie or permanent marker on the smooth surface.
· You can cut out your design into many pieces according to your needs with decorative or regular scissors.
How to make shrink art
Required Things:
· Shrink Plastic
· Scissors
· Permanent Markers or Colorful pen
· Puncher
· Oven and Tongs or Oven Mitt
Process
· Obtain a piece of Shrink art plastic with one matte surface.
· Cut any excess plastic away to make it a flat sheet. You have to use both the top and the bottom.
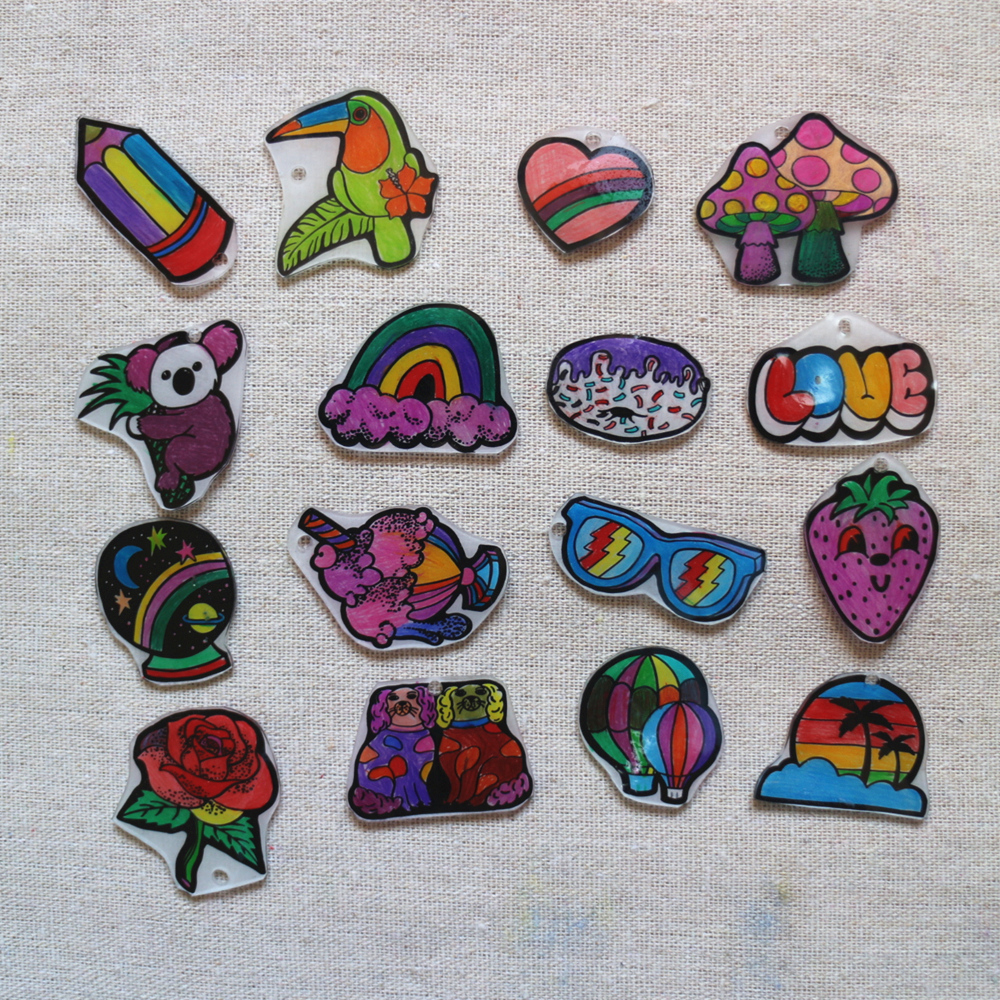
· Create your text or desired images on your plastic canvas by using permanent markers.
· The total image size will shrink and become one-third of its original size.
· Heat it in an Oven Mitt at 350-degree centigrade and keep it the lowest position of a rack.
· Place your art in the tray
· At first, your art will curl up and then shrink.