What is the Shrinky Dinks?
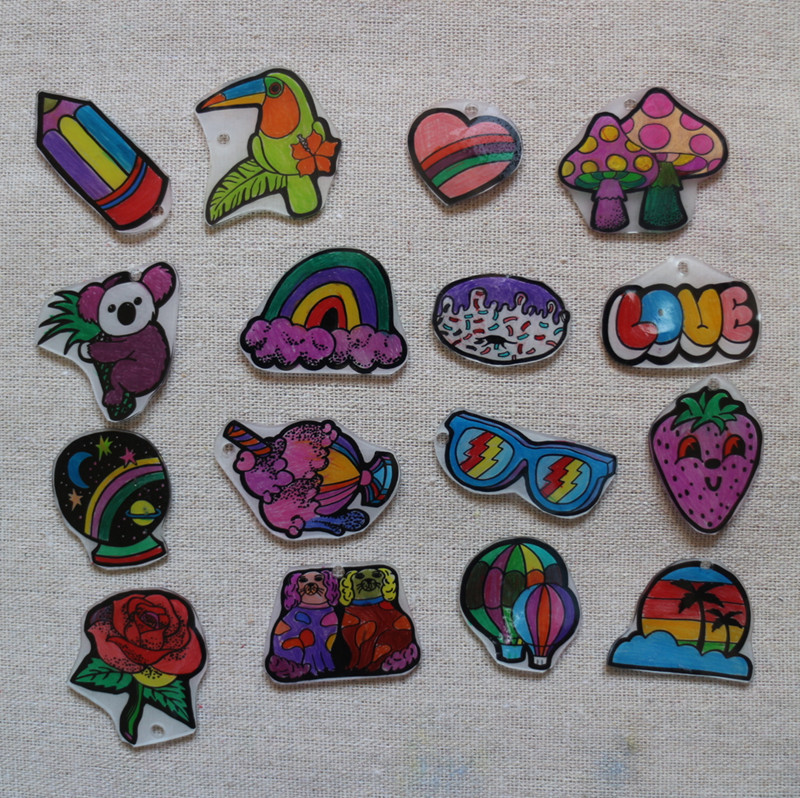
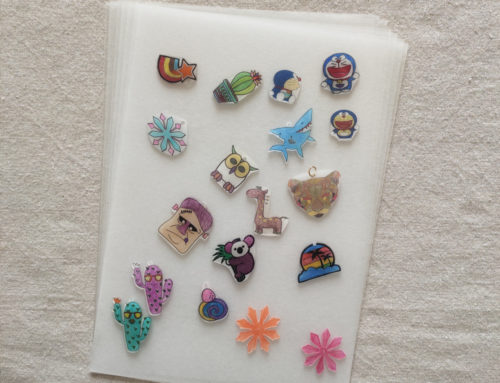
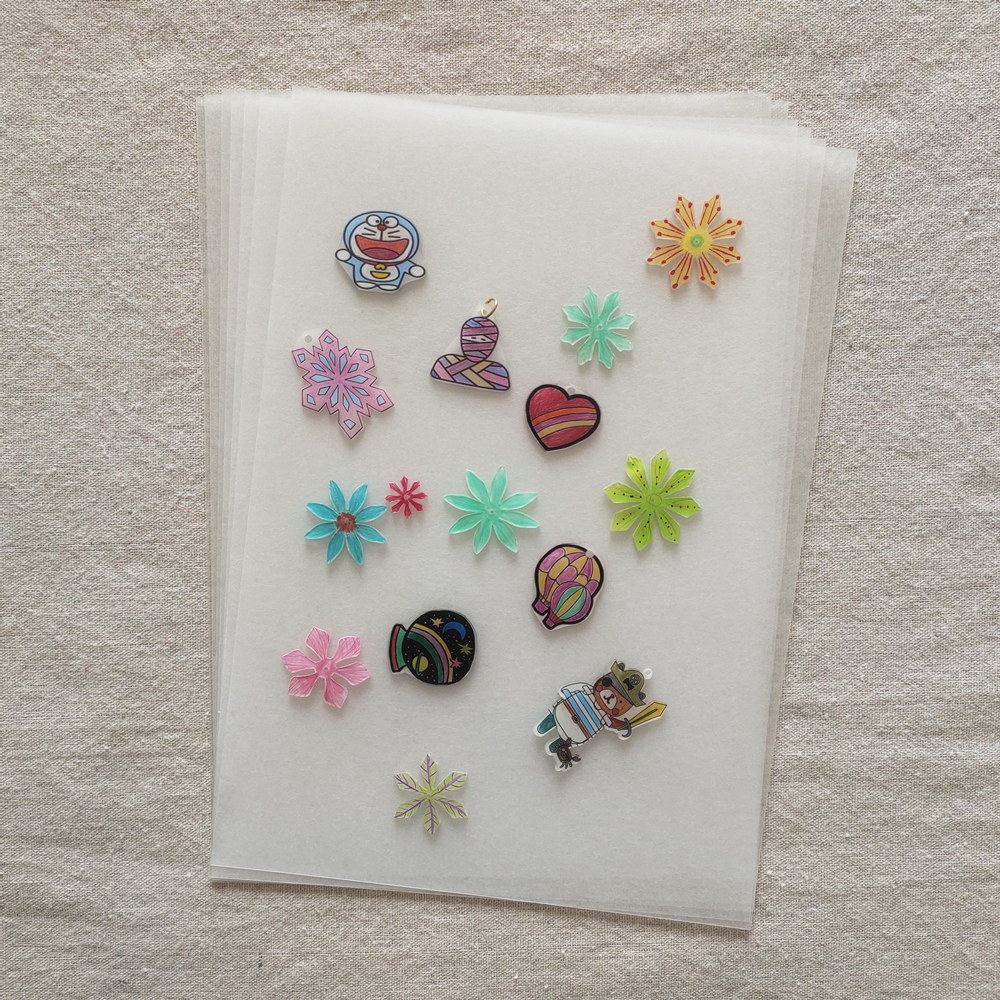
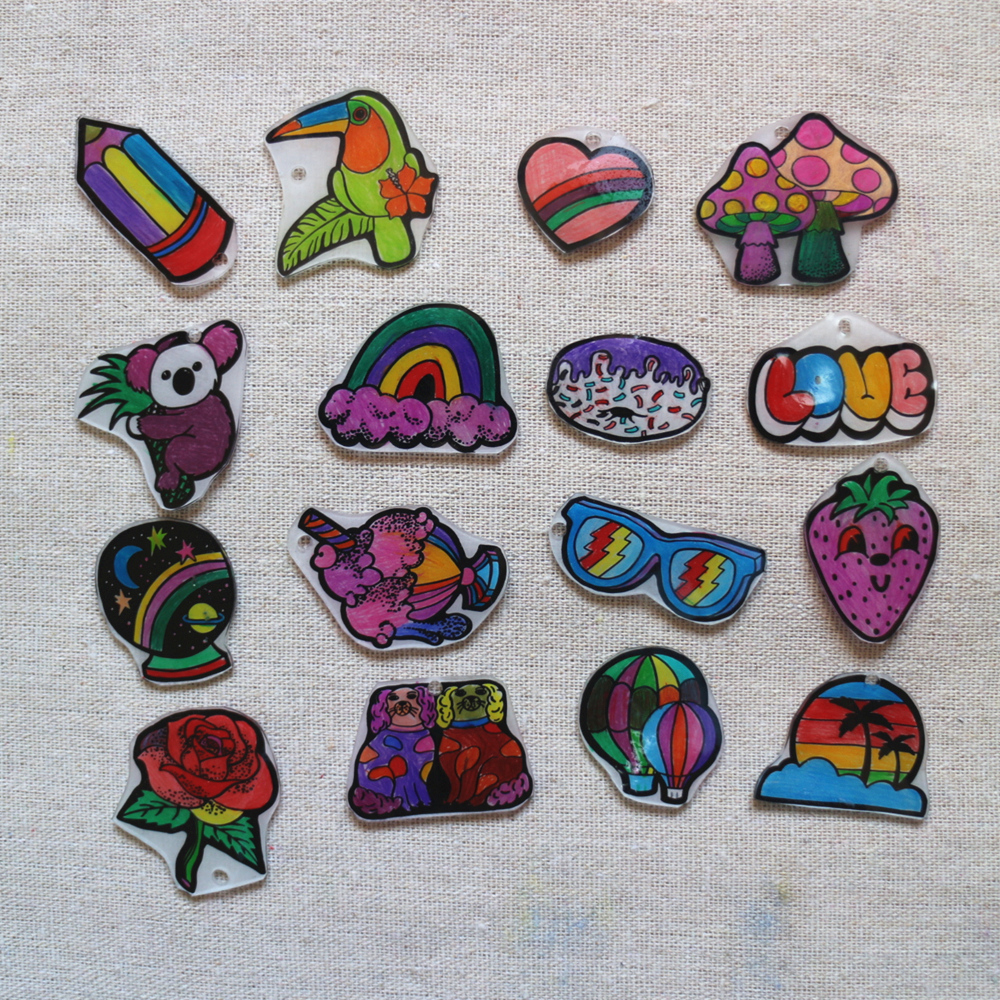
We do and we still love them. Simply draw a design, color, cut out and bake. The shapes shrink into a new creation.
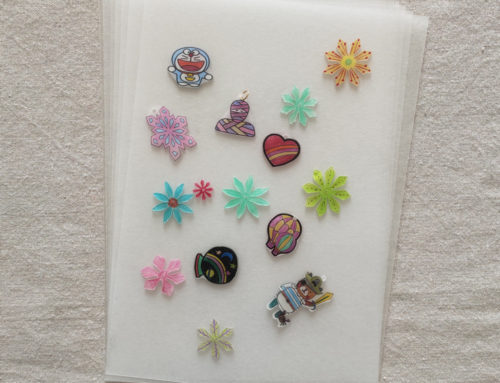
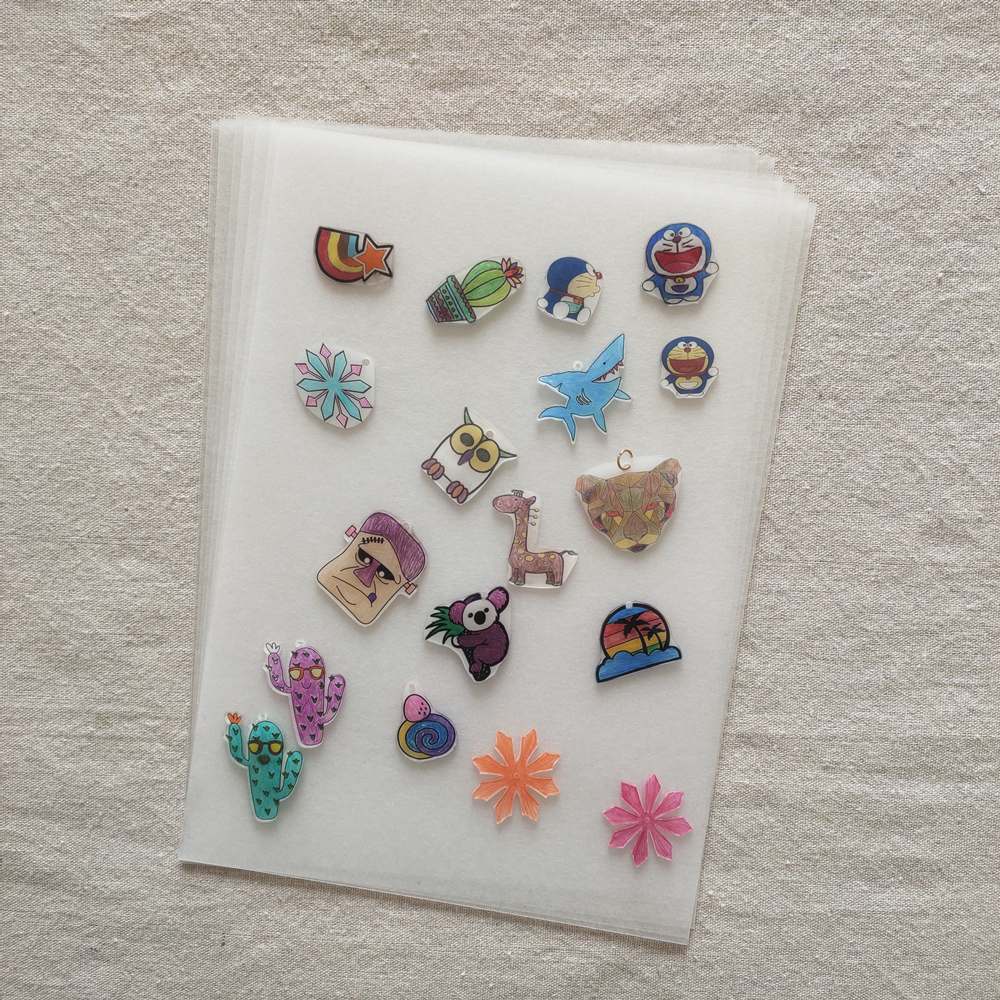
Make jewelry, mobiles, key chains, magnets and art projects. You get 10 blank sheets with this set. Choose your style from clear, frosted or bright white.
Each sheet is A4,A5,A6 or customized cut size.
Instructions:
Step 1
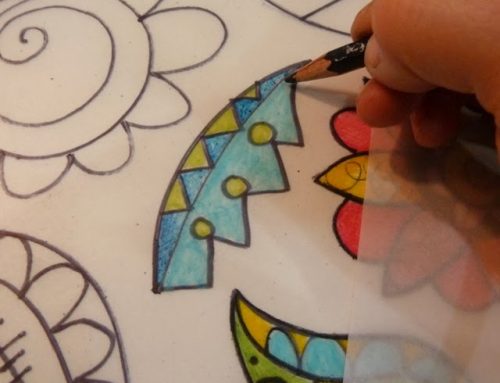
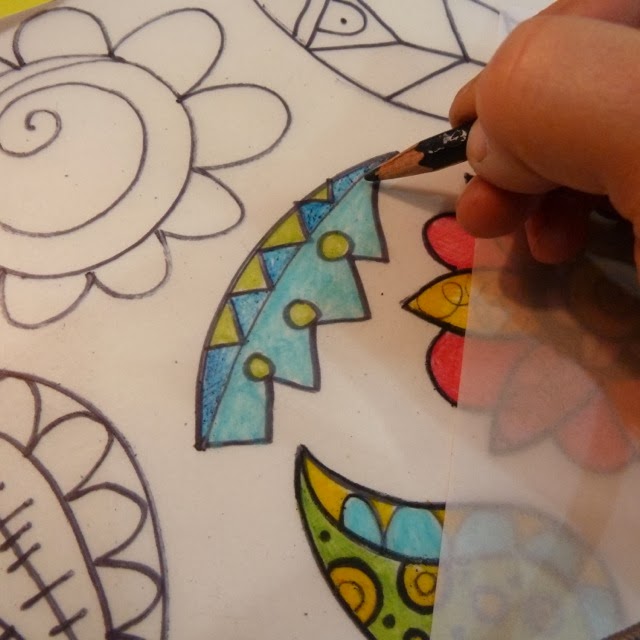
Draw, trace or copy an image onto a Shrinky Dinks plastic sheet.
Use colored pencils, markers, and ink on Shrinky Dinks. Use the colored pencil on the rough side of the sheets, and use Sharpie or permanent marker on the smooth side.
Don’t use oily or waxy substances like crayons or oil paint on Shrinky Dinks because they will melt in high heat.
Printing from a computer directly onto a sheet is also possible, and works great with photos. Print letters in a mirror image so they can be read from the nicer shiny side once shrunk. Tracing is popular as well.
Step 2
Cut a design or punch holes in the plastic. You may want to add decorative edges to the plastic, cut out your design, or punch holes in it to make it into a necklace or charms for a bracelet.
Use paper punches if you want holes in the plastic. You might want holes if you are making jewelry or just for decoration. Punch any holes before you bake the Shrinky Dinks.
Cut out your design with decorative or regular scissors.
Step 3
Line a cookie sheet tray with non-stick aluminum foil or baking paper. You could also create a mock tray by folding aluminum foil.
Place the Shrinky Dink cut-out designs on the tray, rough side up. Leave space between the Shrinky Dink plastic shapes or they might stick together.
Ovens should only be used with adult supervision.
Step 4
Preheat the oven at 325 degrees Fahrenheit. You probably only need to pre-heat the oven for 1 to 3 minutes. You can use a toaster oven or a conventional oven.
Once the oven is preheated, put the tray with the Shrinky Dinks into the oven.
You only need to bake them for 1 to 3 minutes. At first the Shrinky Dinks will curl up, but they will flatten back out. Once they flatten back out, bake for 30 more seconds.
Step 5
Remove the tray from oven. Use a potholder so you don’t burn yourself, and be careful.
You could flatten your Shrinky Dinks more by pressing them flat with folded paper. However, this step may not be necessary.
Let the Shrinky Dinks cool for a few minutes before handling them. The finished piece will shrink to 1/3 the original’s size, but it will become 9 times thicker. The artwork will be brighter and bolder, and you can more easily preserve it.
